Design Mockups
This section provides a great way to keep track of design progress while collaborating on it with team members. Here’s how the process works:
- From the project homepage, click on “Design.”
- If you’re uploading your very first mockup, a screen will pop to help you along.
- Give the mockup a name- it’s most helpful if the name of the mockup reflects the page. Example: About Us, or Products.
- Then choose the file you want to upload, and add comments if you have any.
- Click “Save” and your mockup will upload.
Keep track of the version from the left side menu – For example, if it’s the first version you’ve uploaded, it’ll say “About Us (V1).” If it’s the second version you’ve uploaded, it’ll say “About Us (V2).” And so on.
Rename the mockup, or remove the existing version by clicking the respective button on the main mockup page.
The information on the mockup page gives you details including the name of the mockup, which version it is, who uploaded it, and when it was uploaded. You also have the opportunity to download a hi-res version of the mockup.
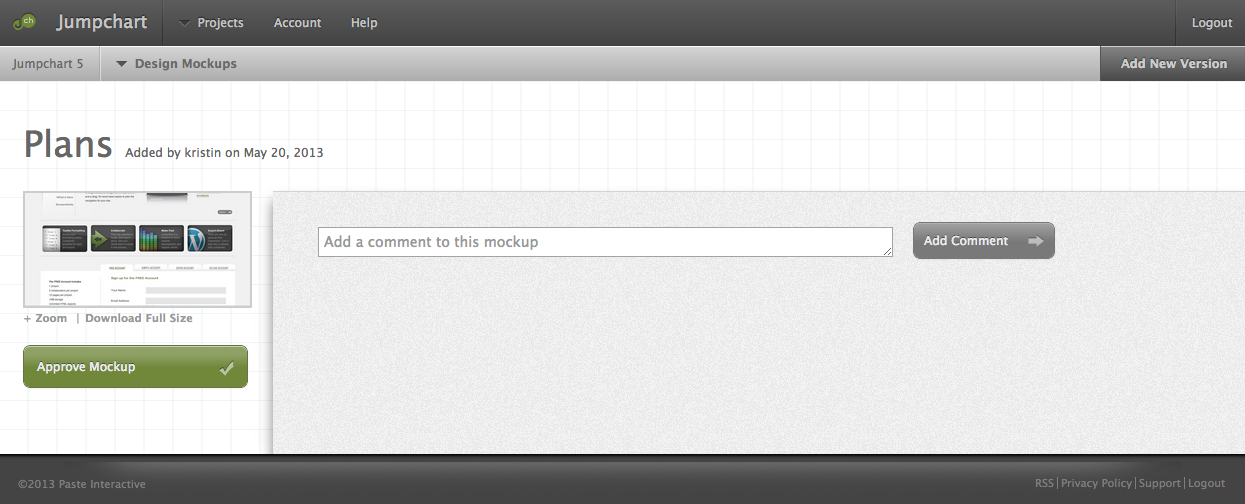
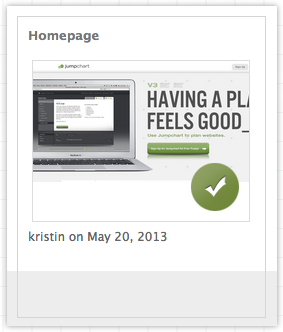
When the person in charge has decided that a particular mockup is approved, they can mark it “Approved.” You’ll know the version has been approved by the green checkmark. The person who gave approval can also undo it by clicking the “Undo Approval” button on the mockup detail page.
For more information on how you can interact with your design mockups, read the article here.